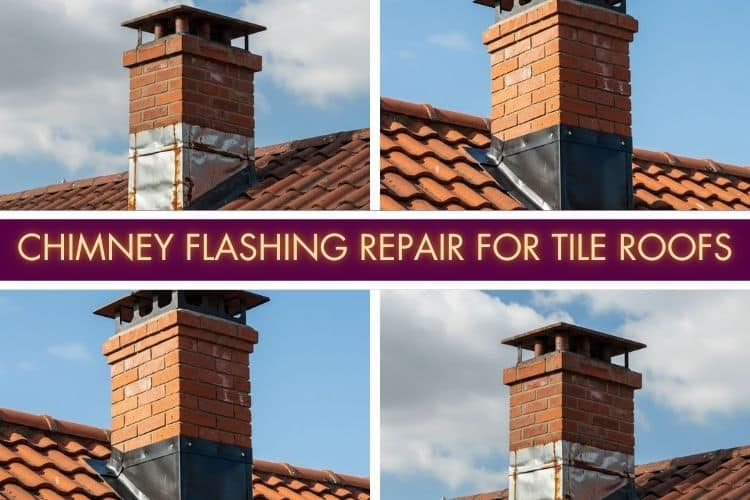
When it comes to maintaining the integrity of your home, few things are as critical as ensuring your chimney flashing is in top condition—especially on a tile roof.
Chimney flashing acts as a protective barrier, preventing water from seeping into your home and causing costly damage. But when it fails, the consequences can be dire.
Whether you’re dealing with a copper chimney flashing repair on a tile roof or need to replace lead flashing on a tile roof, this guide will walk you through everything you need to know to keep your home safe and dry.
Why Chimney Flashing Matters on Tile Roofs
Tile roofs are renowned for their durability and aesthetic appeal, but they require specialized care, particularly around chimneys. The unique design of tile roofs means that chimney flashing repair for tile roofs demands precision and expertise.
Flashing that isn’t properly installed or maintained can lead to leaks, water damage, and even structural issues.
Common problems include:
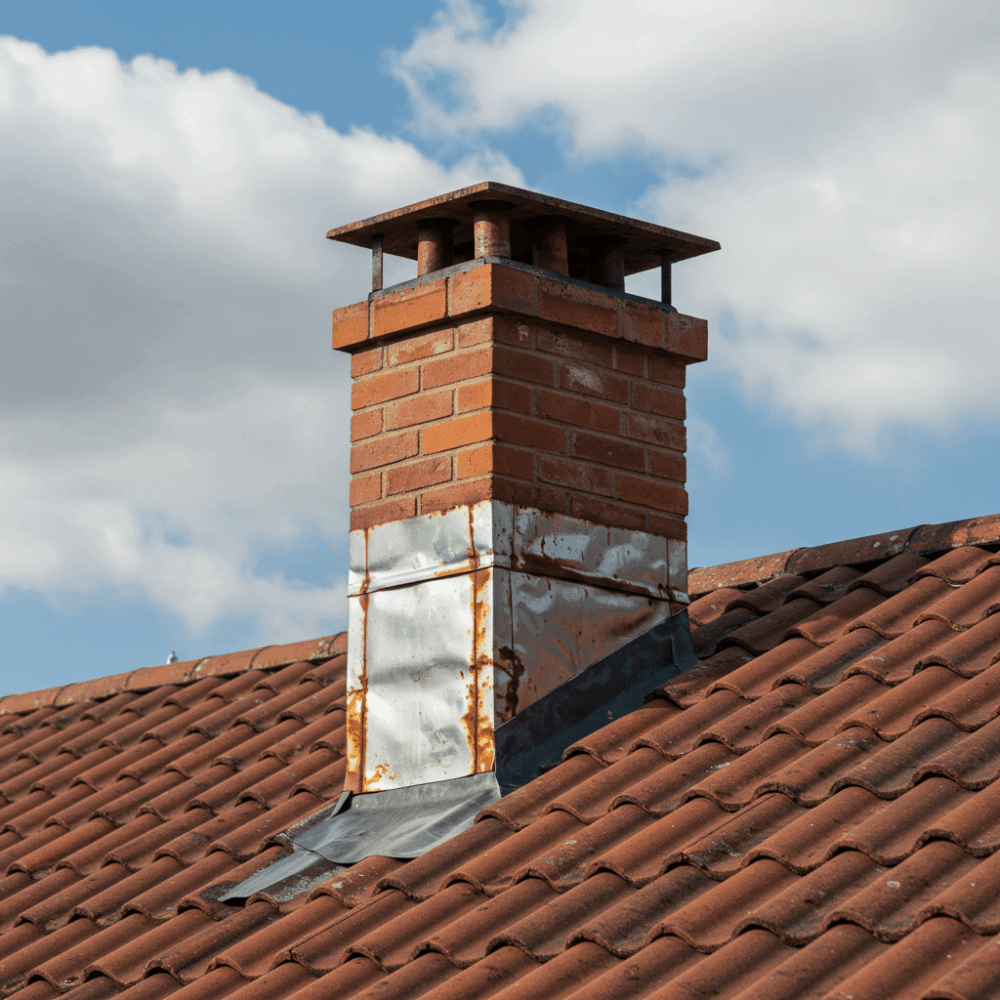
- Chimney flashing leaks on tile roofs: Water seeping through gaps can cause rot, mold, and damage to your home’s interior.
- Tile roof flashing corrosion repair: Over time, metal flashing can corrode, especially in harsh weather conditions.
- Water damage from chimney flashing on tile roofs: Left unchecked, leaks can lead to costly repairs and compromised structural integrity.
Types of Chimney Flashing for Tile Roofs
Not all flashing is created equal. The material you choose can significantly impact the longevity and effectiveness of your chimney flashing.
Here’s a breakdown of the most common options:
| Material | Pros | Cons |
| Copper | Durable, long-lasting, and resistant to corrosion. | Expensive and requires professional installation. |
| Lead | Highly malleable, making it ideal for custom fits. | Can be costly and requires skilled installation. |
| Galvanized Steel | Affordable and widely available. | Prone to rust over time, especially in wet climates. |
| Aluminum | Lightweight and resistant to corrosion. | Less durable than copper or lead. |
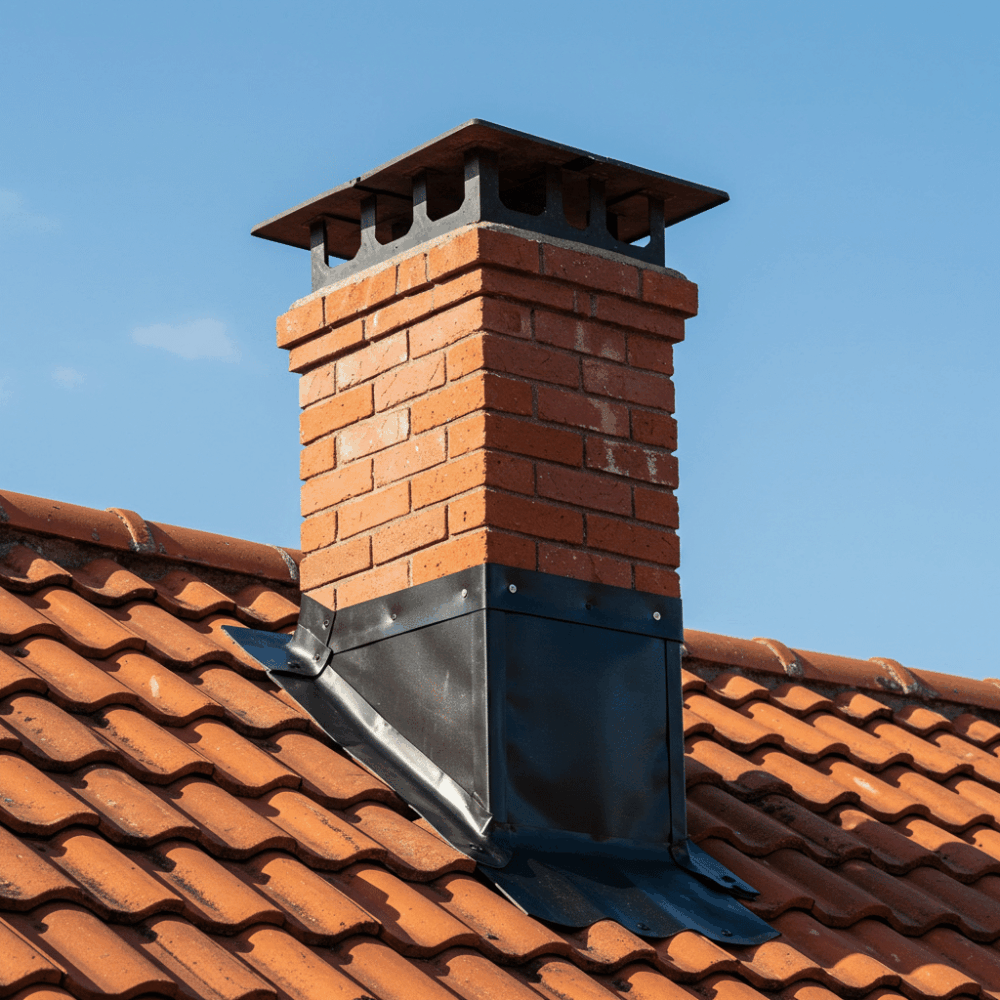
For most tile roofs, copper chimney flashing repair or lead flashing replacement is recommended due to their durability and resistance to the elements.
How to Repair Chimney Flashing on Tile Roofs: A Step-by-Step Guide
Repairing chimney flashing on a tile roof isn’t a DIY project for the faint of heart. It requires careful attention to detail and a solid understanding of roofing systems.
Here’s a high-level overview of the process:
- Inspect the Flashing: Look for signs of damage, such as cracks, rust, or gaps. Pay special attention to areas where the flashing meets the tiles.
- Remove Damaged Flashing: Carefully lift the surrounding tiles and remove the old flashing. Be cautious not to damage the tiles.
- Install New Flashing: Cut the new flashing to size and secure it in place. For mortar-sealed chimney flashing on tile roofs, ensure a tight seal to prevent leaks.
- Reinstall Tiles: Once the new flashing is in place, carefully reposition the tiles and secure them.
- Apply Sealant: Use a high-quality chimney flashing sealant for tile roofs to ensure a watertight seal.
Signs Your Chimney Flashing Needs Attention
How do you know when it’s time to repair or replace your chimney flashing?
Here are some telltale signs:
- Water stains on ceilings or walls: This is a clear indicator that water is entering your home.
- Loose or missing tiles: Damaged flashing can cause tiles to shift or fall off.
- Visible rust or corrosion: This is especially common with galvanized steel chimney flashing on tile roofs.
- Mold or mildew growth: Excess moisture from leaks can lead to mold problems.
If you notice any of these issues, it’s time to call in a professional for a tile roof chimney flashing replacement.
Choosing the Right Sealant for Tile Roof Chimneys
Not all sealants are created equal. When it comes to chimney flashing sealant for tile roofs, you’ll want a product that offers superior adhesion and weather resistance.
Some of the best options include:
- Roofing cement: Ideal for sealing small gaps and cracks.
- Flashing adhesive: Perfect for securing new flashing in place.
- Polyurethane sealant: Offers excellent flexibility and durability.
DIY vs. Professional Repair: What You Need to Know
While some homeowners may be tempted to tackle DIY chimney flashing repair for concrete tile roofs, it’s important to weigh the risks.
Improper installation can lead to more significant problems down the line. Hiring a professional ensures the job is done right the first time, saving you time, money, and stress.
Final Thoughts: Protect Your Home with Proper Chimney Flashing Maintenance
Your home is your sanctuary, and protecting it starts with the roof. Whether you’re dealing with chimney step flashing repair on a tile roof or need to install counter flashing on a tile roof, taking proactive steps to maintain your chimney flashing can save you from costly repairs and headaches.
Ready to take the next step? Contact a trusted roofing professional today to schedule an inspection and ensure your chimney flashing is in top condition. Your home—and your peace of mind—will thank you.
FAQs
It’s a good idea to inspect your chimney flashing at least once a year, especially after severe weather.
While regular sealant may work temporarily, it’s best to use a product specifically designed for chimney flashing sealant for tile roofs to ensure long-lasting protection.
The cost can vary depending on the material and extent of the damage, but most repairs range from $200 to $500.