
Transforming your bathroom into a spa-like retreat is easier than you think, and one of the most luxurious additions you can make is a shower bench. Not only does it provide a functional seating area, but it also elevates the aesthetic of your shower space, making it feel like a high-end sanctuary. Whether you’re designing a walk-in or roll-in shower, a built-in shower bench can add both style and practicality.
This guide explains how to build a tile shower bench that complements your shower design and enhances your bathroom experience. Read on!
Choosing the Right Shower Bench for Your Space
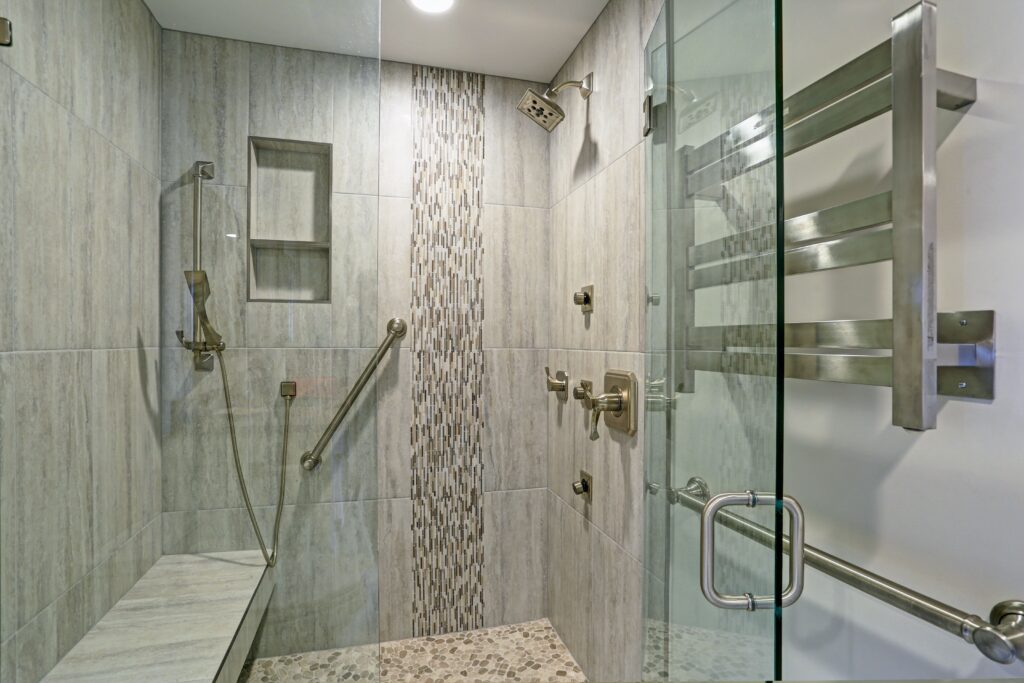
Before diving into construction, it’s essential to decide on the type of shower seat that best suits your needs. You can have a corner bench, a standard shower seat, or even a heated shower bench for added luxury. If you’re working with a smaller shower space, a corner seat might be the ideal solution, as it maximizes space without compromising functionality. For more extensive showers, a built-in shower bench along the shower wall can create a seamless look.
When planning your tile shower bench placement, consider the shower floor slope and minimum water drainage slope to avoid water leakage. A sloped shower bench top is also recommended to ensure proper drainage.
Materials and Tools You’ll Need
To build a durable and water-resistant shower bench, you’ll need the following basic materials:
- Backer board or cement board for the core structure
- Waterproof membrane (such as a sheet membrane or topical membrane) to protect against moisture
- Thinset for securing tiles
- Custom-cut glass panel or stone or tile-like material for the bench surface
- Building panel for the frame (if constructing a box frame shower bench)
- Lag bolts and silicone caulk for securing the frame
Additional tools include a drill for pilot holes, a level to ensure a level bench, and a measuring tape to keep the size in mind during construction.
Step-by-Step Guide to Building a Shower Bench
Follow these simple steps you can follow to create a durable and stylish bench that complements your shower design:
1. Construct the Frame
For a conventional box-frame shower bench, start by building a sturdy frame using treated wood or metal. If you opt for a metal frame, ensure it’s corrosion-resistant. Measure the ideal location for your bench, keeping in mind the inch height and inch gap required for proper drainage.
Drill bolt holes and secure the frame using size lag bolts. Apply a thin-set layer to the frame to prepare it for the backer board.
2. Install the Backer Board
Cut the backer board to fit the frame and attach it using screws. Ensure the board is level and secure. Then, cover the backer board with a waterproof membrane, overlapping seams by at least two inches, to prevent leaks.
3. Waterproofing and Tiling
Once the waterproofing steps are complete, it’s time to tile. Apply a layer of thin-set to the bench surface and carefully place your chosen tiles, ensuring they align with the shower bench tile line. For a complex shower tile job, consider hiring a professional to achieve a flawless finish.
4. Add Finishing Touches
After the tiles have been set, use silicone caulk to seal the edges and keep water out of the frame. If you’re installing a heated shower bench, now is the time to add the heat cable membrane beneath the tiles.
With the final touches in place, your shower bench is ready to transform your bathroom experience, offering a comfortable and luxurious retreat that feels like a spa.
Tips for a Spa-Like Experience

To elevate your bathroom space and create a truly luxurious retreat, consider these tips when designing and using your shower bench:
- Pair with glass shower enclosures: Combine your finished shower bench with sleek glass shower enclosures to create an open, airy feel that mimics a high-end spa.
- Add heated features: Install a heated shower bench or incorporate a heat cable membrane beneath the tiles for a warm, soothing experience during your steaming shower.
- Incorporate innovative features: For a modern, functional touch, opt for Smart shower benches with built-in storage, heating elements, or even Bluetooth speakers.
- Choose complementary accessories: Enhance the ambiance with bathroom accessories like rainfall showerheads, aromatherapy diffusers, and plush towels.
- Ensure accessibility: If mobility is a concern, design a compliant shower seat or an alternate roll-in shower layout to provide the shower seat extra stability and ease of use.
- Focus on lighting: Install soft, dimmable lighting at eye level to create a relaxing atmosphere.
- Use luxurious materials: Select stone or tile-like material for the bench surface and surrounding shower walls to achieve a high-end, spa-like aesthetic.
- Keep it clean: Avoid dirty shower benches by using easy-to-clean materials and sealing tiles properly to prevent mold and mildew.
- Add greenery: Place small, waterproof plants in your shower space to bring a touch of nature indoors.
- Maximize comfort: Ensure your bench is level for ease of use, and consider adding a cushioned seat pad for extra comfort.
Keep these tips in mind and be ready to transform your shower space into a serene, spa-like retreat that enhances your daily routine!
Conclusion
Building a shower bench is a rewarding project that can significantly enhance your bathroom experience. Whether you choose a corner shower seat, a boxed shower bench, or a custom tile shower design, the key is to prioritize durability, waterproofing, and aesthetics. With the right materials and a bit of planning, you can create a lovely bathroom retreat that feels like a spa.
So, what are you waiting for? Gather what you need, and get ready to enjoy the comfort and luxury of your very own shower bench!