When you’re remodeling your kitchen, expanding your living space, or giving your entire house a facelift, a significant renovation project can breathe new life into your home. However, once the dust settles and the construction crews leave, there’s often one daunting task left to tackle: the cleanup.
Cleaning up after a major renovation can be challenging and time-consuming, but it can be manageable and even satisfying with the right approach. This comprehensive guide will take you through a six-step process to help you clean up after a significant renovation project efficiently and effectively.
Cleaning up after a major renovation can be challenging and time-consuming, but it can be manageable and even satisfying with the right approach. Many people choose the option of having a professional service who are experts in post construction cleaning in Long Island, NY (or a city near you) help with the clean-up operation. The goal of a renovation clean-up is to make the space ready for use or occupancy. Professionals ensure that the area is not only clean but also looks pristine and polished, which can be crucial for things returning to normal after the project is completed. This comprehensive guide will take you through a six-step process to help you clean up after a significant renovation project efficiently and effectively.
Gather Your Cleaning Supplies
To clean up effectively, you’ll need a range of cleaning supplies. Gathering everything you’ll need before you start the cleaning is a good idea. Having these supplies on hand will make the cleanup process much smoother. It is also a good idea to rent a dumpster to dispose of renovation waste efficiently. For the locals, the best option for dumpster rentals in Galveston, TX is one that suits the scale of your project.
Having a designated container for waste ensures that you can safely dispose of debris and materials without cluttering your space with piles of trash bags. Renting a dumpster can be a game-changer when efficiently disposing of renovation waste.
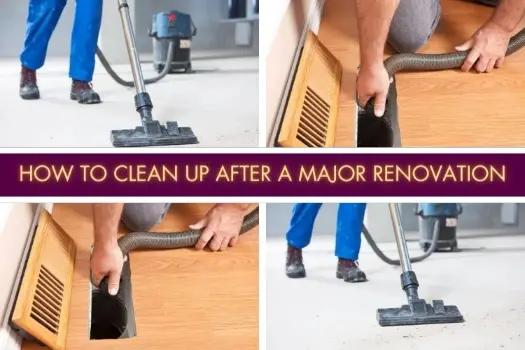
Start with a Thorough Debris Removal
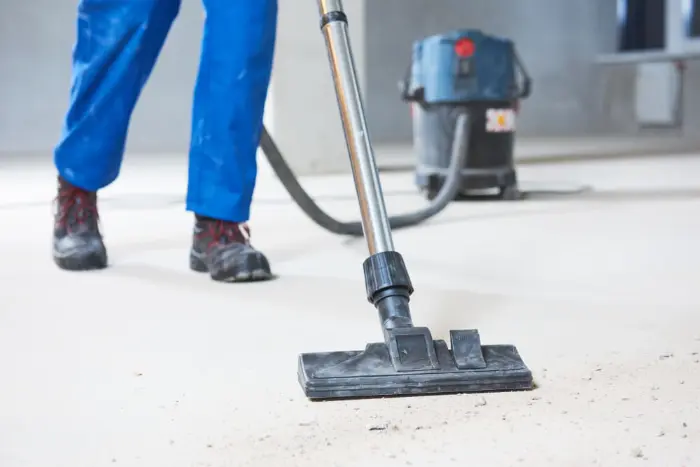
A primary step in cleaning up after a major renovation project is to remove all debris and construction waste from the area. This can be physically demanding, but it’s crucial to clear the space effectively. Begin by picking up and removing large debris, such as chunks of drywall, discarded materials, or broken fixtures. Place these items in heavy-duty trash bags or designated waste containers. If you want to be more efficient, you could even look into construction debris removal services to get rid of the waste material, this can save you lugging around trash bags and leaving piles of mess around your home for the duration of the project. Instead, you can dispose of waste as it is created and keep your newly renovated space clear and ready to use as soon as it’s finished.
Once the large debris is gone, sweep the area to collect more minor dust and debris particles. Don’t forget to check for hidden debris in nooks, crannies, and behind appliances or fixtures. Renovation projects often leave dust and debris in unexpected places. By thoroughly removing debris, you’ll create a clean slate for the rest of the cleanup process.
Clean Surfaces and Fixtures
With the space cleared of debris, it’s time to focus on cleaning surfaces and fixtures. Different materials require specific cleaning methods, so tailor your approach to the surfaces in your renovated area. Pay special attention to corners and edges where dust tends to accumulate. For painted walls, be gentle to avoid damaging the finish. Clean glass surfaces with a streak-free glass cleaner and a microfiber cloth. Polish until they shine.
For hardwood or tile floors, consider using an appropriate floor cleaner. If your floors require more intensive care, you may even want to explore floor cleaner machine rental options. Don’t forget to clean baseboards and corners: clean appliances, light fixtures, and other fixtures in the room. Remove and clean light covers and replace any burnt-out bulbs. Wipe down cabinets and countertops with an appropriate cleaner. Be sure to clean inside drawers and cabinets, as dust can accumulate there.
Air Quality and Ventilation
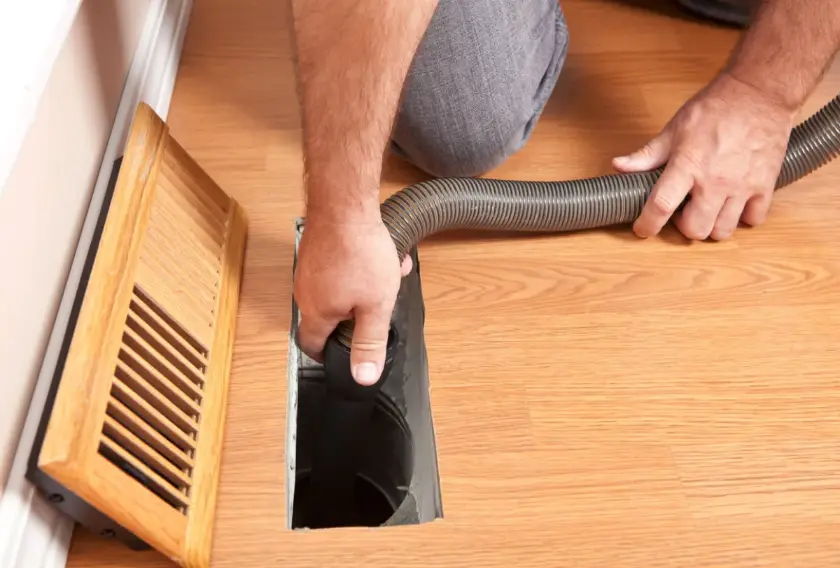
After cleaning surfaces and fixtures, addressing air quality and ventilation is essential. Renovation projects often introduce fine dust particles and odors into the air, which can linger even after cleaning. If your renovation involves significant dust or debris, consider replacing or cleaning the HVAC filters in your home’s heating and cooling system.
This can help reduce the circulation of fine particles. If your renovation was extensive and you’re concerned about air quality, consider hiring professionals to clean the HVAC ducts in your home. Improving air quality is not only crucial for your comfort but also for your health and well-being.
Final Touches and Inspection
The final step in cleaning up after a significant renovation project involves adding those finishing touches and conducting a thorough inspection to ensure everything is in order. Give the renovated space one more thorough dusting and cleaning to ensure all surfaces are spotless. Inspect the area for any damages that may have occurred during the renovation or cleanup process.
This includes checking for scratches, dents, or marks on surfaces, walls, and fixtures. Once you’re satisfied with the cleanliness and condition of the space, you can begin replacing furniture and other temporarily removed items.
Think About Safety
A significant renovation project can leave behind various hazards, such as sharp debris, potentially harmful chemicals, and other safety concerns. Wear protective gear, gloves, safety goggles, and a dust mask. These items will shield you from dust, splinters, and other dangers during the cleanup. Before cleaning, inspect the renovated area for any apparent safety hazards. Look for exposed nails, sharp objects, or unstable structures. Address these issues before you start cleaning.
Proper ventilation is essential when dealing with dust and potential chemical fumes. Ensure all utilities, including gas and electricity, are turned off in the renovated area. This is especially important when cleaning near electrical outlets or gas lines. By prioritizing safety, you’ll reduce the risk of accidents and injuries during cleanup.
Conclusion
Cleaning up after a significant renovation project can be a demanding task. Still, by following this six-step guide, you can streamline the process and ensure your newly renovated space shines in all its glory. From prioritizing safety to the final touches, each step is vital in making your post-renovation cleanup successful. Ultimately, the effort you invest in this stage will be well worth it, allowing you to fully appreciate and enjoy the beauty and functionality of your revitalized home.