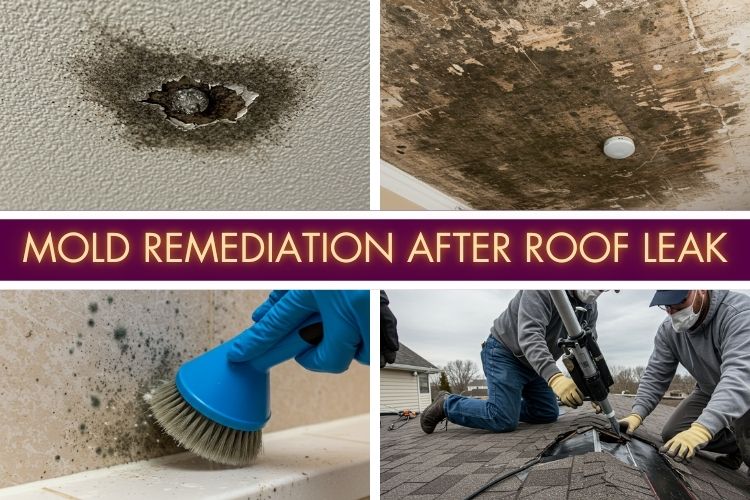
A roof leak can be a homeowner’s worst nightmare, not just because of the immediate damage, but because of the long-term issues it can cause, especially when it leads to mold growth.
Mold remediation after a roof leak is crucial to restore your home and ensure your family’s health. Whether it’s mold on your ceiling, attic, or other hidden spaces, taking swift action is essential to prevent further damage.
This guide will explore everything you need to know about mold remediation after a roof leak—from detection and cleanup to prevention and cost considerations.
Understanding the Mold Problem: Why Roof Leaks Lead to Mold Growth
When water from a roof leak enters your home, it creates the perfect environment for mold to thrive. Mold requires moisture, warmth, and organic material to grow, and your home provides these in abundance—especially in areas like the attic or ceiling.
If the leak goes unnoticed for an extended period, the situation can worsen, leading to the growth of black mold, a particularly dangerous form of mold known for its health risks.
The Link Between Roof Leaks and Mold Damage

A roof leak can introduce water into your home in several places: ceilings, walls, insulation, and even structural elements like beams and rafters. Over time, this prolonged exposure to moisture creates a breeding ground for mold.
Most commonly, mold growth appears in these areas:
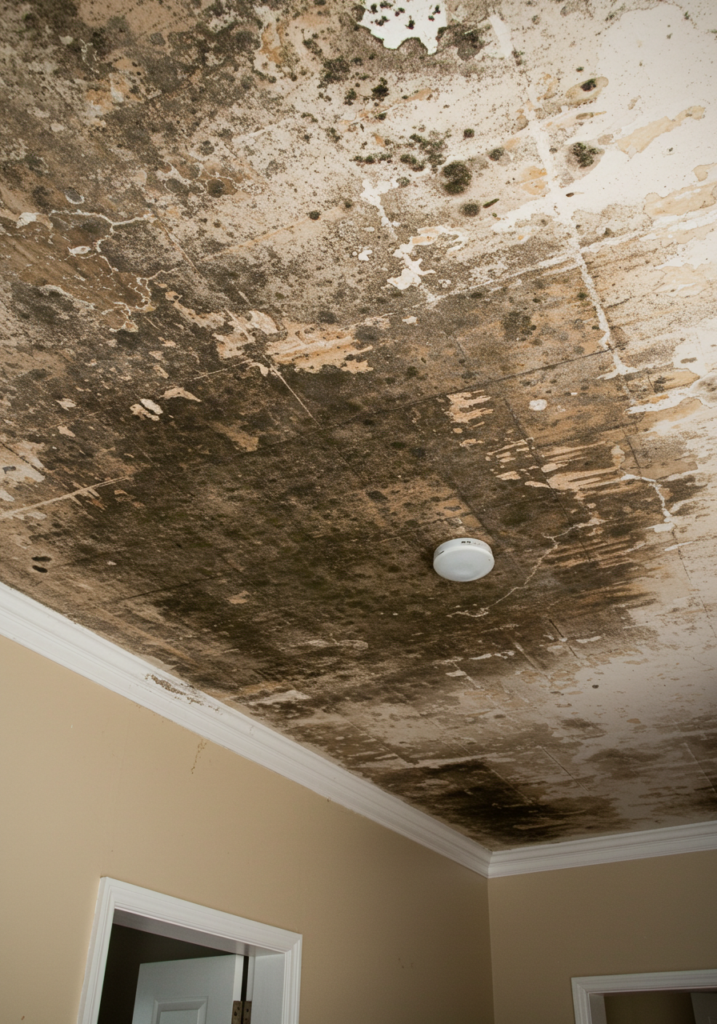
- Ceilings and walls: As water from a roof leak seeps through the ceiling, it may cause bubbling paint, brown stains, and, ultimately, mold growth.
- Attics: The attic, particularly in homes with poor ventilation, can trap moisture, creating an ideal setting for mold to spread across insulation, wooden beams, and rafters.
- Wooden beams: Mold can grow on wooden surfaces, particularly when water from a roof leak gets trapped and sits for extended periods.
- Drywall and insulation: These materials are particularly vulnerable to mold after water exposure, and if not addressed quickly, they may need to be replaced.
Health Risks of Mold from Roof Leaks
Mold is not just an aesthetic or structural problem; it can also pose significant health risks. Mold spores, when inhaled, can trigger allergies, asthma, and respiratory issues.
Prolonged exposure to mold, especially black mold, has been linked to more severe health conditions like fungal infections or chronic respiratory diseases.
Symptoms of mold exposure include:
- Nasal congestion
- Coughing or wheezing
- Eye irritation
- Skin rashes
- Fatigue
If you notice any of these symptoms and suspect mold in your home, especially after a roof leak, it’s important to take action as soon as possible.
The Mold Remediation Process After a Roof Leak
Proper mold remediation after a roof leak involves several critical steps to ensure the mold is effectively removed, and the issue does not return. Here’s a detailed breakdown of the process:
Step 1: Mold Inspection and Testing
Before starting any mold remediation, it’s crucial to confirm the presence of mold. This is often done through a combination of visual inspections and mold testing. A mold inspection identifies the extent of the infestation, which will determine the scope of the remediation.
If you’re concerned about hidden mold, consider mold testing. Experts can take air samples or surface samples to check for fungal growth in areas that are not visible, such as behind walls or beneath flooring. A professional mold inspection can also help identify any water damage from the roof leak that may not be immediately visible.
Step 2: Fixing the Roof Leak
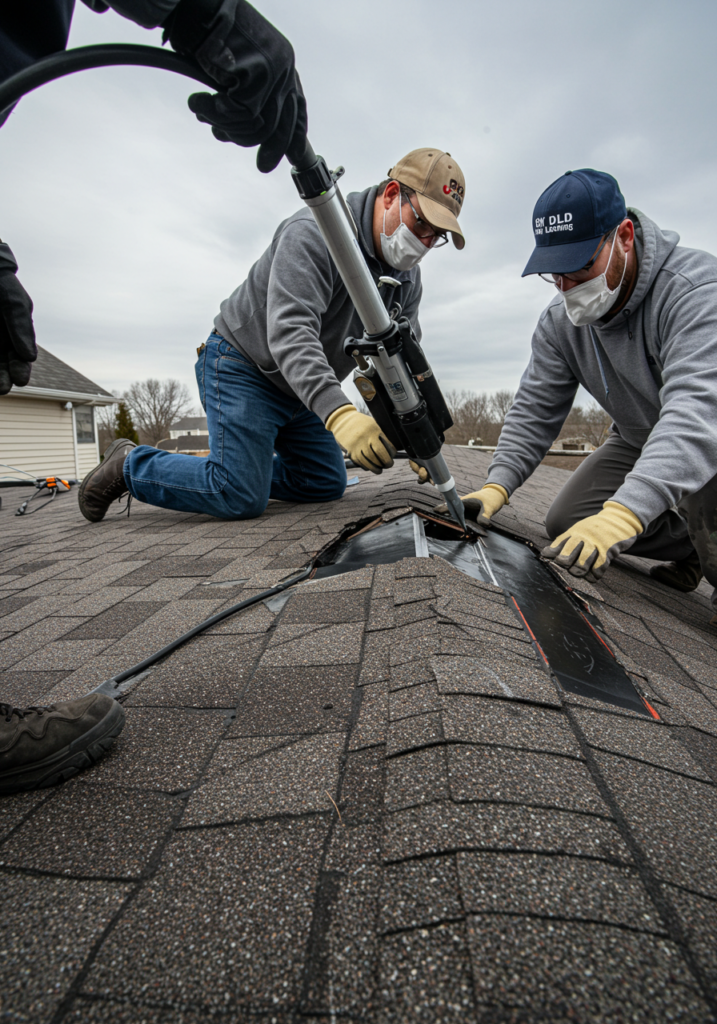
No mold remediation effort will be effective without addressing the root cause—the roof leak. If you haven’t already had your roof repaired, this must be the first step in the process. Whether it’s a small crack or a larger hole, sealing it properly is essential to prevent further water from entering your home and causing mold to reappear.
Step 3: Removing the Mold
Once the roof leak is fixed, the actual mold removal can begin. There are two primary ways to approach this:
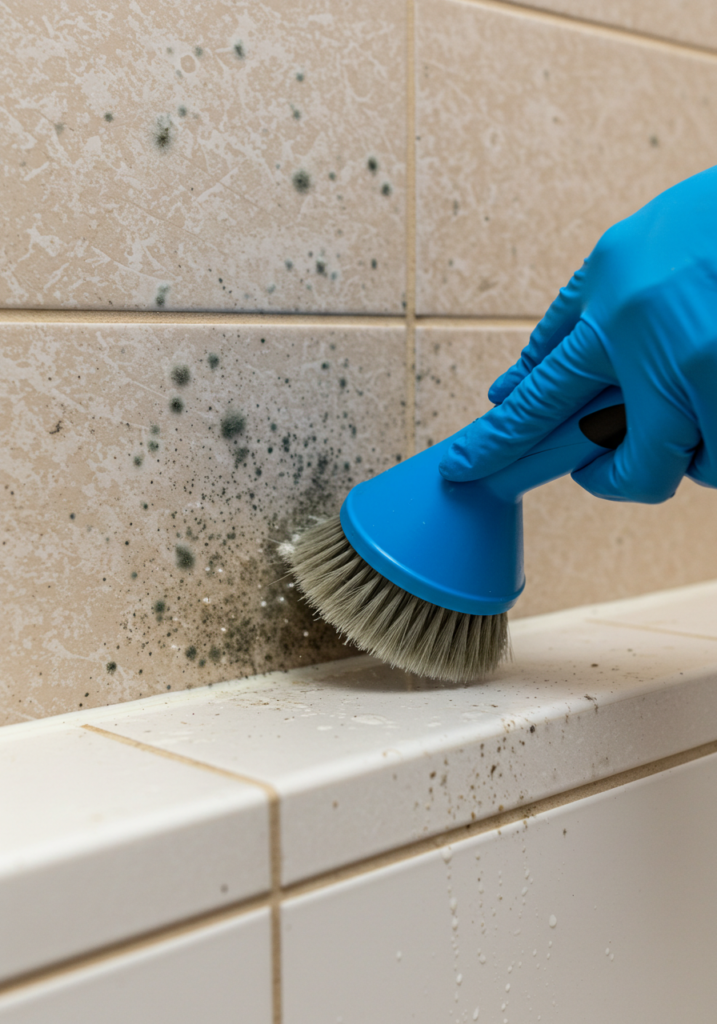
- DIY Mold Remediation: Small areas of mold may be manageable with DIY techniques. Using a mix of soap and water, or natural solutions like vinegar or hydrogen peroxide, you can clean mold from surfaces like ceilings and walls. However, for significant infestations or if black mold is present, professional intervention is often necessary.
- Professional Mold Remediation: For larger mold problems, particularly in the attic or hidden areas, hiring a professional mold remediation company is the safest choice. Professionals use industrial-grade cleaners, HEPA vacuums, and mold removal equipment to ensure complete mold removal and minimize health risks. Mold specialists can also provide advice on preventive measures for future mold growth.
Step 4: Structural Repairs and Drying
Once the mold is removed, it’s time to focus on drying and restoring the affected areas. Water damage mold cleanup often involves drying out wet areas with dehumidifiers and fans. For larger water damage, you may need structural repairs, especially in the attic or ceiling, where the materials may have deteriorated from the leak and mold.
Ventilation solutions are also critical. Poor ventilation can cause moisture to linger in the attic, making it more likely for mold to return. Installing proper attic ventilation can significantly reduce the likelihood of future mold growth.
Step 5: Preventing Future Mold Growth
Once the mold is gone and the repairs are complete, your next concern is ensuring it doesn’t return. Here are some strategies to prevent future mold growth after a roof leak:
- Roof Maintenance: Regularly inspect your roof for leaks, especially after storms or heavy rain. Fixing small leaks quickly can prevent them from turning into larger problems.
- Mold-Resistant Materials: Consider using mold-resistant insulation and mold-resistant drywall in areas prone to moisture. These materials are designed to resist mold growth.
- Improve Ventilation: Ensure your attic has proper airflow to keep the space dry. Installing vents or using a dehumidifier can help.
- Use Dehumidifiers: Especially after repairs, use dehumidifiers to reduce moisture levels in the attic and other humid areas.
Cost of Mold Remediation After Roof Leak
The cost of mold remediation can vary depending on the severity of the mold damage, the size of the affected area, and the professional services needed. On average, mold removal can cost between $500 and $6,000, with attic mold removal being on the higher end of the spectrum. For large-scale water damage mold cleanup, costs may exceed $10,000.
Some factors that can influence the cost include:
- Extent of the Mold Growth: The larger the mold problem, the more expensive it will be to remove.
- Location of the Mold: Mold in hard-to-reach areas, such as within walls or attic beams, may cost more to access and remove.
- Insurance Coverage: Homeowners insurance may cover some or all of the costs of mold remediation, depending on the cause of the roof leak. However, many policies have specific exclusions related to mold, so it’s important to check with your insurer.
Emergency Mold Remediation Services
In cases of emergency mold remediation or urgent black mold removal, timing is everything. If you suspect mold from a roof leak, it’s crucial to address the problem immediately. Many mold removal companies offer 24/7 emergency mold removal services to quickly mitigate the problem and prevent health hazards.
How to Choose a Mold Remediation Company
When selecting a mold remediation company, consider the following:
- Certifications: Ensure the company has certified mold inspectors and removal specialists.
- Reviews and Reputation: Look for customer reviews and testimonials about the company’s services. A reliable company should have a track record of successful mold removal and happy clients.
- Free Estimates: Many companies offer free consultations or estimates for mold inspection and removal.
DIY Mold Cleanup: What You Can and Can’t Do
If you prefer to handle the mold removal yourself, there are some important things to know:
- What You Can Do: For minor mold patches on non-porous surfaces like tiles or glass, use a mixture of vinegar, hydrogen peroxide, or store-bought cleaners.
- What You Can’t Do: Avoid tackling extensive mold growth, particularly in hidden or hard-to-reach areas, like inside walls or your attic. Black mold, in particular, requires professional removal to ensure your safety.
Conclusion: The Importance of Timely Mold Remediation After Roof Leaks
Mold remediation after a roof leak is not something you should delay. The longer you wait, the more damage you risk—both to your property and your health. By taking quick action to repair the roof, remove the mold, and prevent future growth, you can ensure that your home remains safe and mold-free.
Remember, mold can be a hidden danger, so it’s crucial to stay vigilant and monitor your home after any roof leaks. Whether you choose professional mold removal services or attempt DIY mold removal, acting quickly can save you time, money, and potential health problems down the road.