Have you been noticing cracks or chips in your concrete floor that are causing an eyesore and lowering the value of your home? Don’t despair — DIY repairs can be done quickly and affordably to restore your floor to its former glory.In this blog post, we’ll discuss the different materials you need for repair, how to remove any embedded chunks of debris, and how to patch up the cracks with a mixture specifically designed for concrete surfaces. All while keeping costs under control! Keep reading to learn How To Fix Cracks In Concrete Floor.
Identify the type of damage
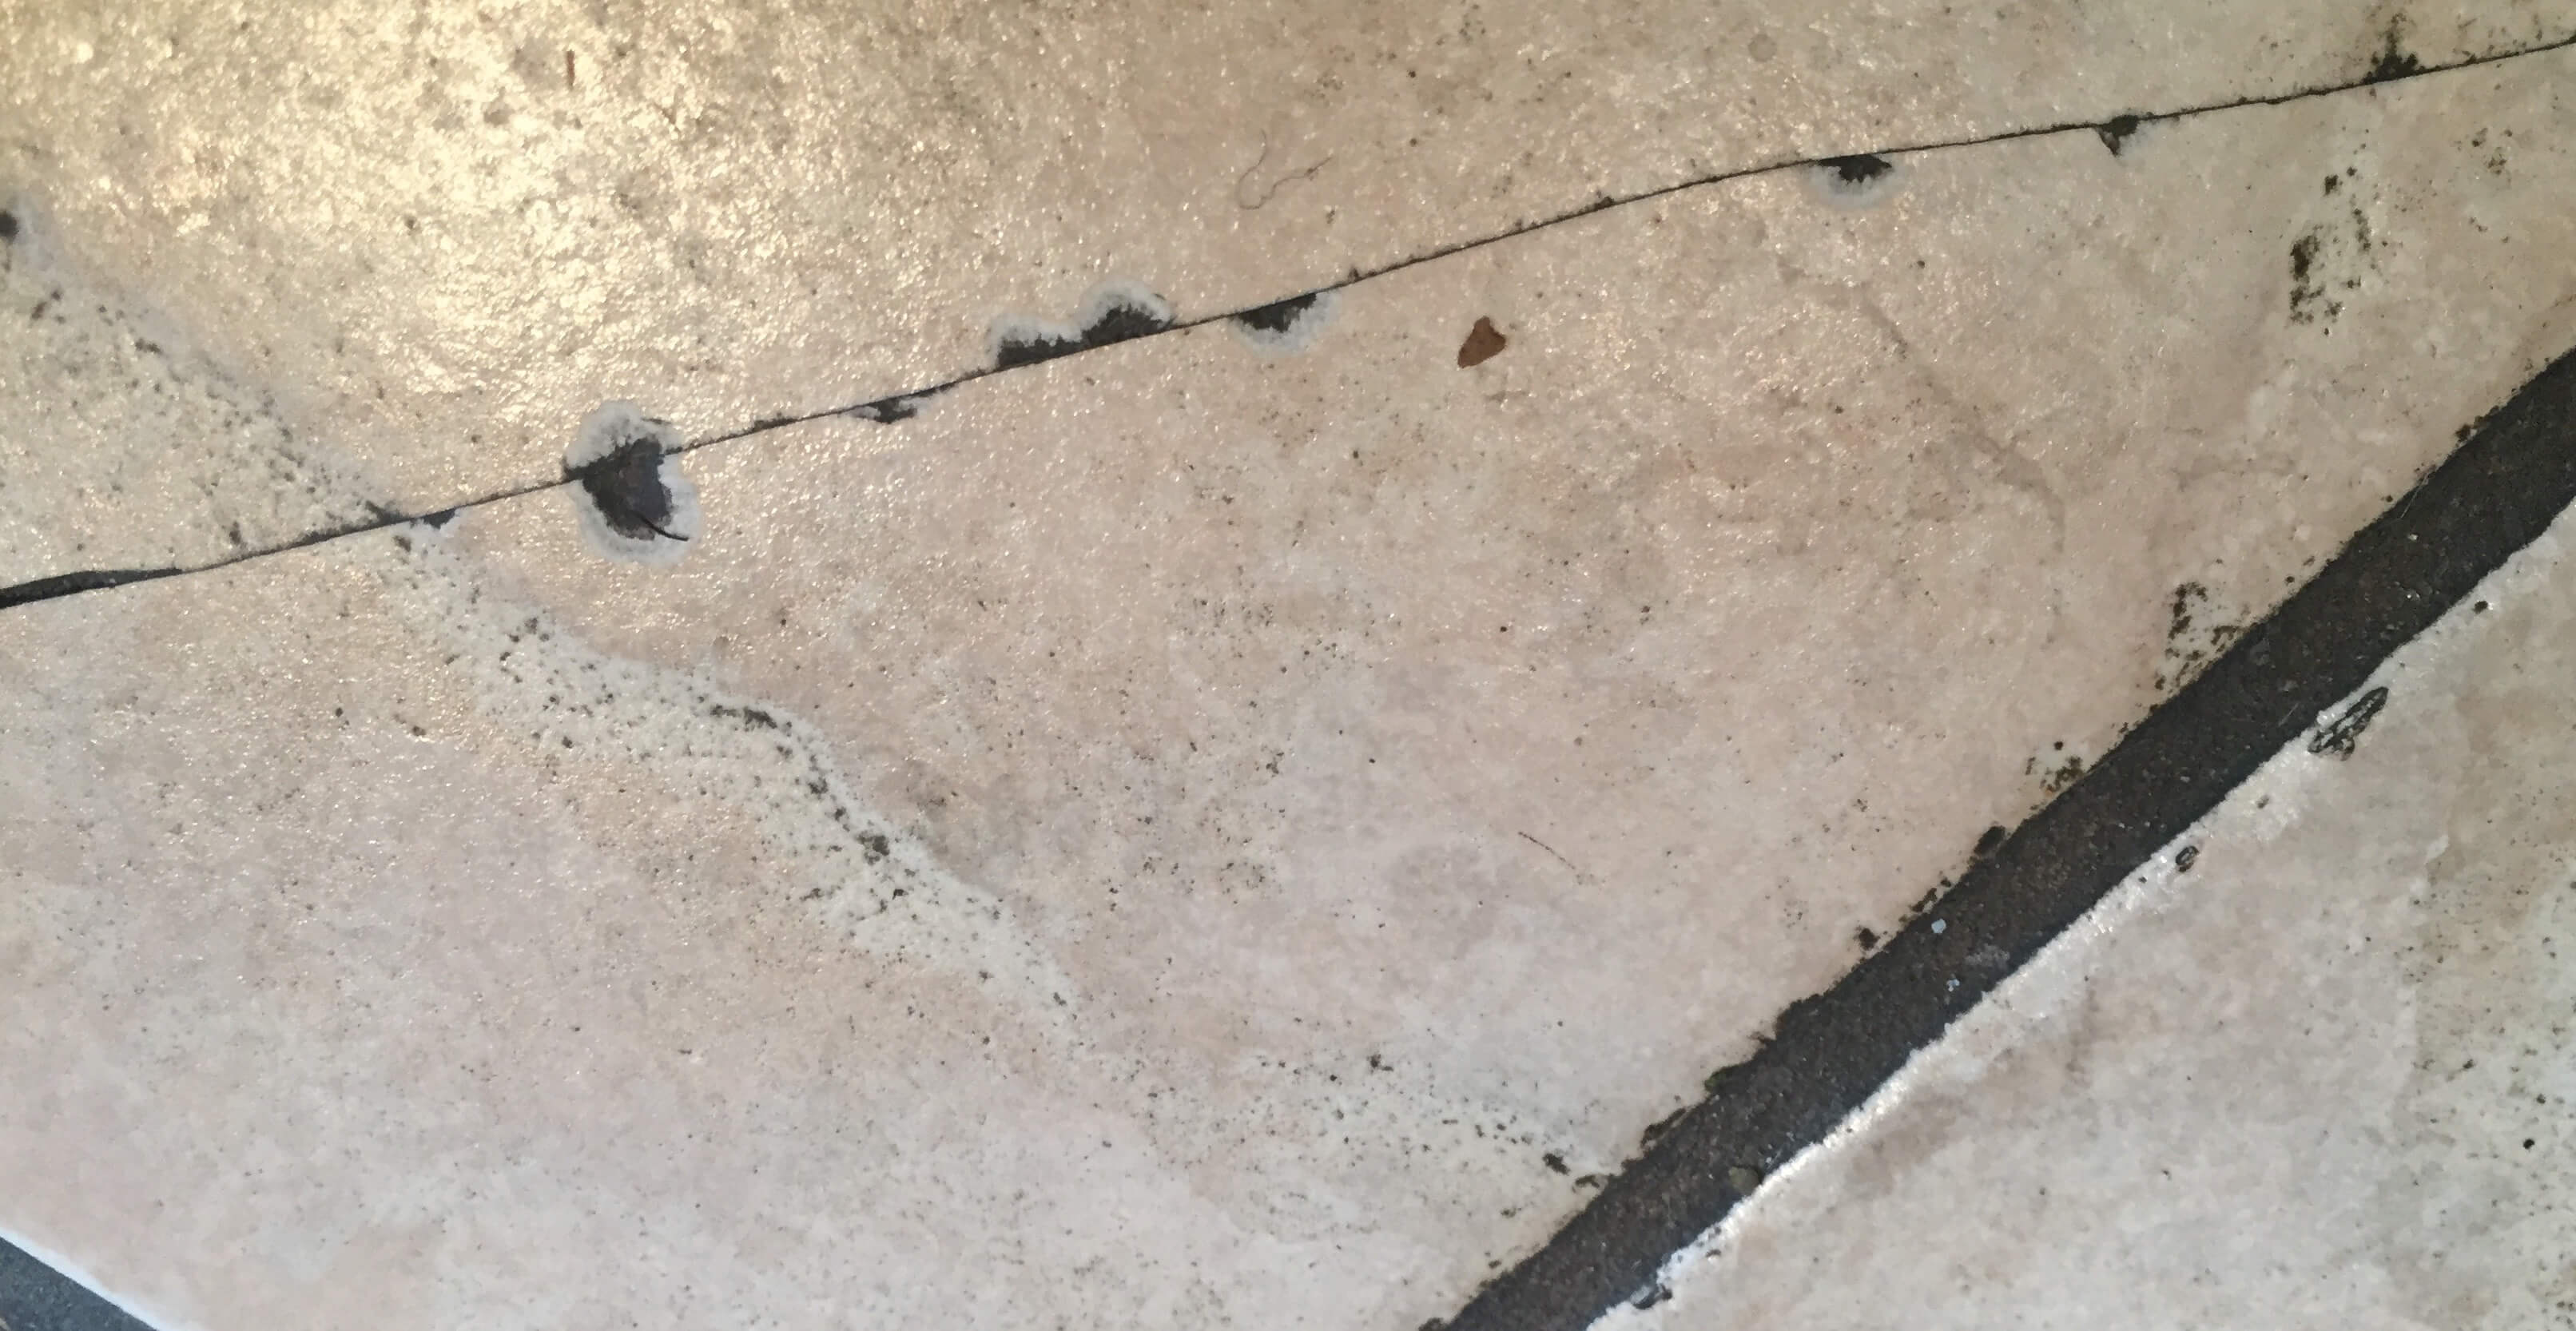
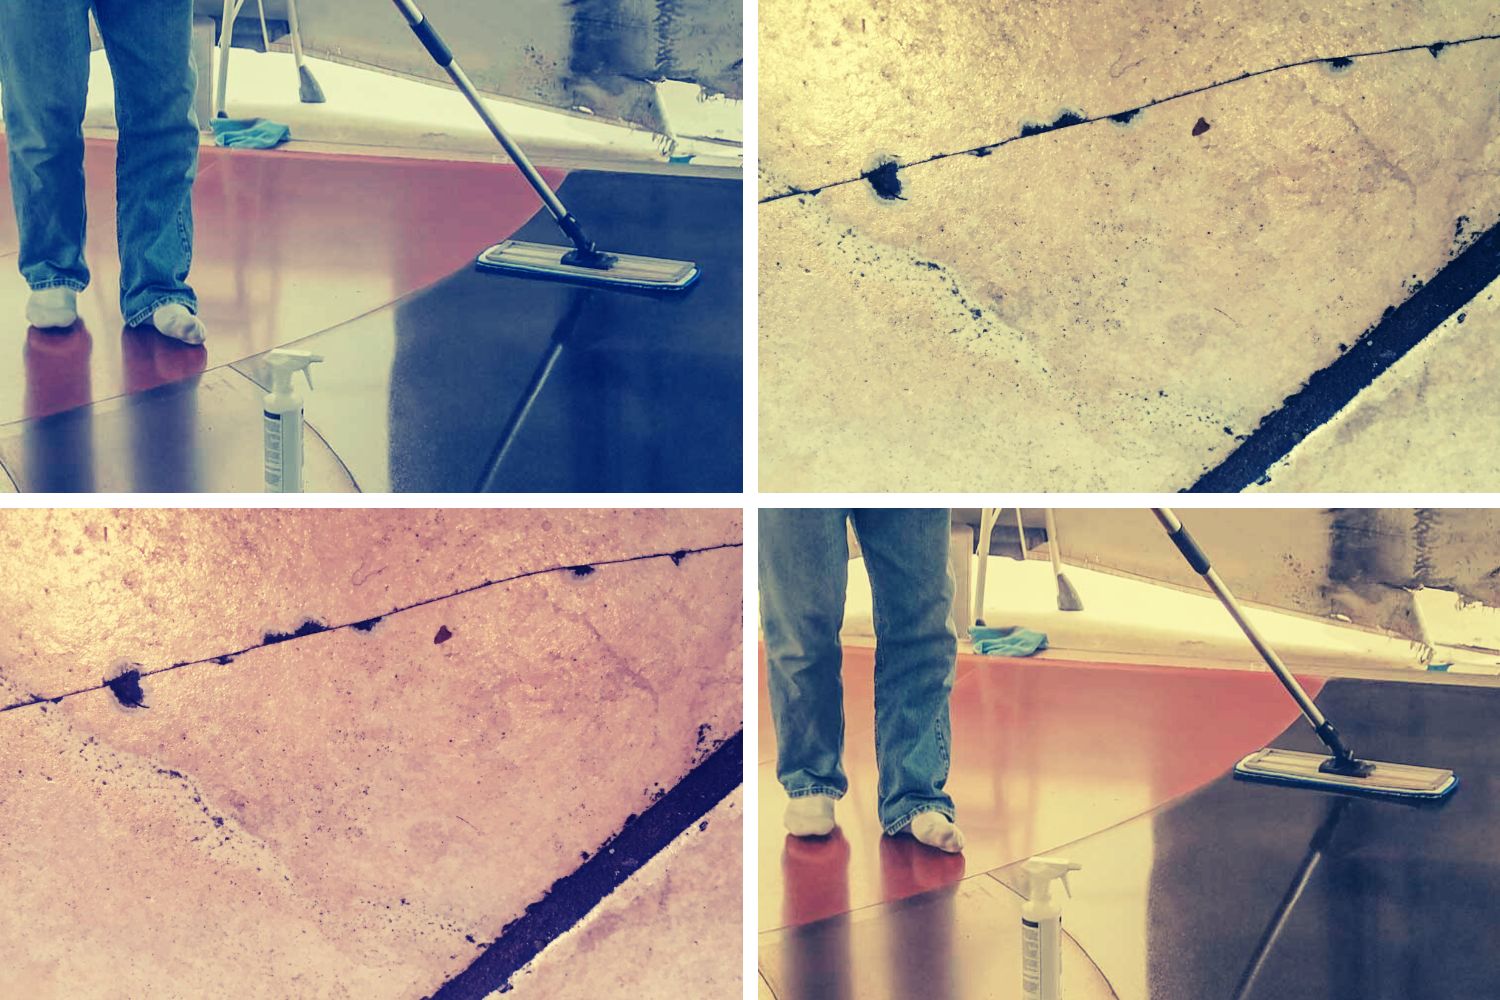
Concrete flooring can withstand a lot of wear and tear, but over time it can develop cracks or chips. It can be challenging to identify the type of damage especially if you don’t know what to look for. But here’s how to tell the difference.
A crack is a line that goes straight or slightly diagonal and can continue to grow if not attended to. A chip, on the other hand, is when a piece of the concrete has broken off leaving a small indentation on the surface. Identifying the type of damage is crucial as it can determine the type of repair needed. Fill a crack with a filler solution to prevent further spreading and patch a chip or fill the area to avoid further damage.
Look for quality products to repair your crack or chip
As frustrating as it may be, cracks and chips in your household items are inevitable. But fear not! With the right products at hand, you can quickly repair these imperfections and give your belongings a new lease on life — you can learn more here. Look for products that are specifically designed for the material you’re working with, whether it’s plastic, glass, or metal.
Don’t forget to prioritize quality over price. Cheap solutions may seem tempting, but they could end up causing more damage in the long run. Additionally, choose options that are easy to use and come with clear instructions.
Clean the area to remove any debris that may be blocking the repair
Before repairing cracks and chips, clean the area thoroughly to remove any debris that may be obstructing the repair process. This debris can prevent the repair material from properly filling the crack or chip and bonding with the surrounding surface. A clean surface ensures that the repair material has a strong and long-lasting hold, preventing further damage, and increasing the lifespan of the repaired area. Take the time to carefully clean the area surrounding the crack or chip, using a brush or vacuum to remove any loose debris or dirt.
Apply the material according to manufacturer instructions and let dry
When applying any kind of material, you should follow the manufacturer’s instructions. Especially when you’re dealing with a crack or chip, it’s necessary to read the directions carefully and apply the product correctly. This ensures that you get the desired results. Once you’ve applied the material, it’s also important to let it dry according to the manufacturer’s instructions. Rushing this process can lead to uneven finishes or other issues. So, always take the time to follow the instructions and let the material dry properly.
Smooth out any rough edges with sandpaper and clean up any excess material
Smooth out any rough edges and clean up any excess material to achieve a polished finish on your project. Sandpaper comes in a range of grits, from coarse to fine, allowing you to gradually smooth out imperfections until you reach the desired level of smoothness.
Keep the sandpaper clean and dry while you work to avoid clogging the paper and damaging your workpiece. After sanding, use a brush or cloth to remove any dust or debris, and your project will be left with a smooth, professional-looking finish. Remember, taking the time to properly sand and clean up your workpiece can make all the difference in the final result.
Seal the repaired area with an acrylic sealer
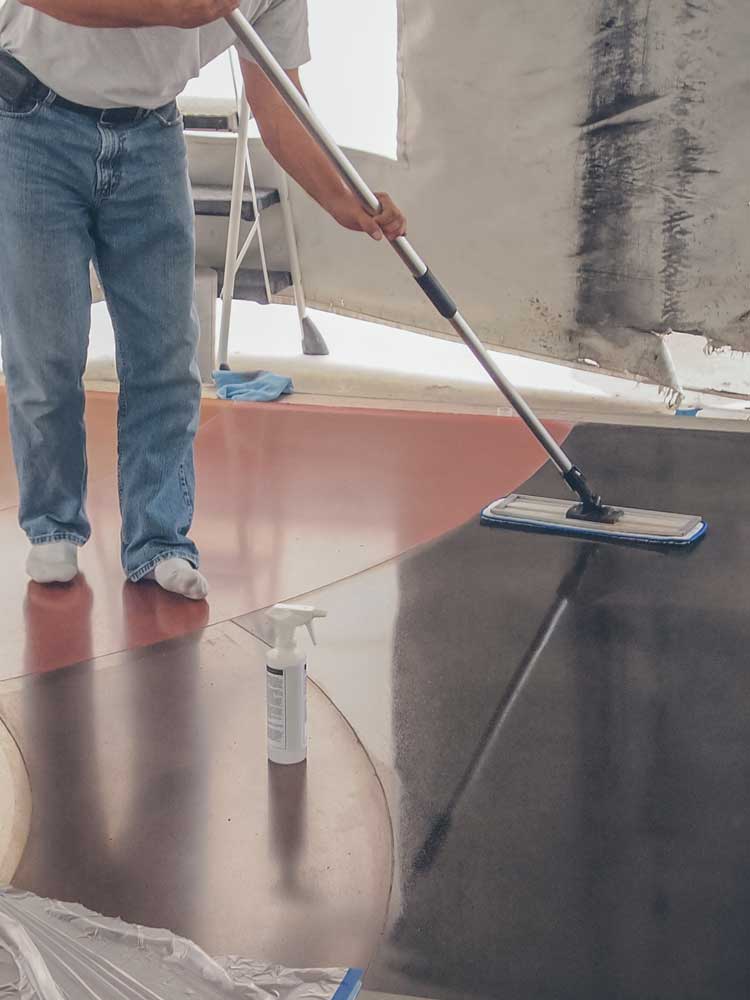
After repairing damaged areas, it is crucial to protect them from future harm — that is where acrylic sealers come in handy. These sealers offer excellent protection and prevent discoloration of the repaired area. They create a protective barrier that shields against water, dust, and other harsh elements.
Applying an acrylic sealer will enhance the durability of the repaired surface. Investing in an acrylic sealer will extend the life of your repairs and keep your property looking brand new for years to come.
Conclusion
Having a crack or chip in your concrete flooring may be disheartening, but don’t worry. With the right approach and quality products, you can repair your concrete flooring with ease. Identify the type of damage, locate a quality repair material suitable for your needs, ensure the area is clear of debris before applying it to the damaged area, and make sure it is dry. Additionally, smooth out any rough edges with sandpaper followed by sealing the repaired area with an acrylic sealer for added protection from further damage. When done carefully and properly, you will have successfully restored all damaged areas.